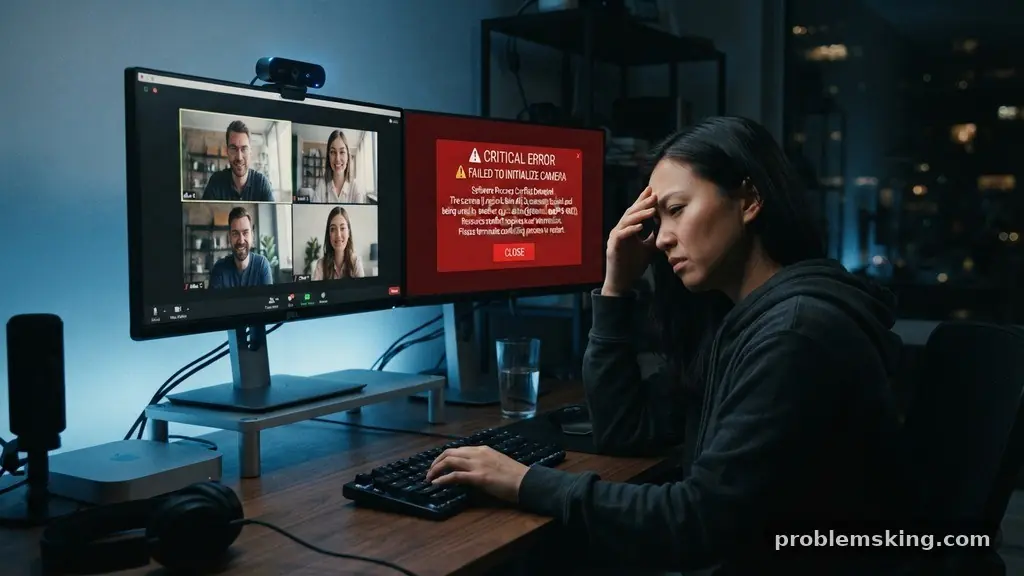
It can be incredibly frustrating when you are ready for a meeting and discover that a webcam works in one application but fails in another. This technical glitch often stems from how modern operating systems manage hardware access rather than a defect in the camera itself.
By understanding the underlying conflicts between software, privacy permissions, and driver communication, you can typically resolve these issues in minutes without needing to buy new equipment. This article explores the specific root causes of these connectivity hurdles and provides actionable solutions to get your video feed back online across all your platforms.
Understanding Exclusive Access and Process Locking
The most common reason for a camera failure across different platforms is a concept known as process locking. Most modern operating systems allow only one application to access the camera hardware at a single time to protect user privacy.
If you have a browser tab open with a video call, that session may hold an exclusive lock on your camera driver. When you try to launch a separate desktop application, such as Zoom or Skype, the second program receives a “device busy” signal.
This behavior is a security feature, not a bug, designed to prevent unauthorized background software from spying on your activity. If you are experiencing this, you should check your task manager or system tray for hidden instances of other communication tools.
Even if the window is closed, a background process might still be running and tethered to the camera hardware. Simply killing these background processes often releases the lock immediately, allowing your preferred software to claim the device successfully.
Navigating Privacy and Permission Settings
Privacy settings represent the second most frequent roadblock when a webcam works in one application but fails in another. Both Windows and macOS treat camera access as a sensitive permission that must be granted on a per-app basis.
Even if your camera is physically connected and recognized by the system, a specific application might be blocked from accessing the video stream. You may have granted permission to your web browser but neglected to do the same for a standalone desktop application.
In Windows, you can navigate to the privacy settings menu to verify which apps have the “allow desktop apps to access your camera” toggle enabled. For Apple users, verifying macOS camera permissions involves checking the Security & Privacy pane in System Preferences.
If the application is not explicitly listed or the toggle is turned off, the system will silently deny the request for video data. Checking these global permission switches is often the first step in troubleshooting persistent black screens or “no camera found” errors.
The Role of Camera Drivers and Hardware Compatibility
Communication between your computer and your hardware relies on a specific piece of software known as a camera driver. If this driver is outdated or corrupted, it may fail to respond correctly to the unique API calls made by different applications.
A UVC device (USB Video Class) is designed to be plug-and-play, but even these standard devices can suffer from driver conflicts over time. You can often address this by visiting the official Windows support guide to learn how to update your drivers manually.
Using the Windows Device Manager, you can inspect the state of your imaging devices to see if there are any warning icons present. If the device reports an error code, you might need to uninstall the driver and restart your computer to force a fresh reinstallation.
Sometimes, a manufacturer-specific driver is required for advanced features, and using the generic Microsoft driver might lead to inconsistent behavior. Ensuring that your driver version is compatible with your current OS build is vital for maintaining a stable video stream.
Managing USB Bandwidth and Hardware Connection
Webcams require a consistent stream of data, and they are surprisingly sensitive to the quality of the physical connection. If you have many devices plugged into a single USB hub, you might be exceeding the available USB bandwidth for your port.
This leads to dropped frames or complete connection failures when an application attempts to initialize the camera. High-resolution webcams, in particular, demand significant data throughput that shared hubs struggle to provide.
To test if bandwidth is the culprit, try plugging your webcam directly into a port on the motherboard, such as those found on the back of a desktop tower. Avoid using front-panel headers or unpowered hubs, as these often have lower power output and higher signal interference.
If your webcam works in one application but fails in another, it could be that the second application is requesting a higher resolution or frame rate that the current connection cannot sustain. Connecting directly to the system board ensures the camera gets the full power and data lanes it requires.
Resolving Resolution and Sample Rate Conflicts
Sometimes, the issue is not that the camera is broken, but that the software is asking for settings the hardware cannot provide. If an application is configured to request a 4K resolution at 60 frames per second, but the camera is physically limited to 1080p, the initialization process may fail entirely.
This is known as a resolution mismatch, and it can cause the video feed to hang or the app to crash. Check the video settings within the problematic application to ensure they match the native capabilities of your device.
Additionally, audio sample rate issues can sometimes cause the entire camera initialization to fail. Since most webcams include a built-in microphone, the software often tries to initialize both the video and audio streams simultaneously.
If the system audio settings have the microphone set to a sample rate that the camera’s hardware encoder doesn’t support, the handshake between the app and the device will fail. Lowering the default audio input quality in your system sound settings can often resolve this obscure, yet common, conflict.
The Impact of Hardware Acceleration
Modern video conferencing software heavily utilizes hardware acceleration to reduce the load on your CPU. While this is great for performance, it can sometimes interfere with how the application handles the video stream from your camera.
If the hardware acceleration feature in a browser or specific app is buggy, it might prevent the application from properly decoding the feed from your webcam. Turning off hardware acceleration in the settings of your browser or app is a classic troubleshooting step that often reveals the root of the problem.
If the camera starts working immediately after disabling this feature, you know that the conflict is related to how the software processes graphical data. You can then try updating your graphics card drivers to see if a newer version restores compatibility with hardware acceleration enabled. This is a common issue for users with older integrated graphics chips that struggle to keep up with the advanced rendering requirements of modern web-based video tools.
Comparing Common Connection Failures
Understanding why a camera fails requires looking at the patterns of how different applications interact with your system. The following table highlights the common variables that differentiate one application from another when they attempt to access your webcam hardware.
| Factor | Web-based Application | Desktop Software |
|---|---|---|
| Access Method | Browser Permissions (API) | System-level drivers |
| Resource Locking | Shared via browser process | Exclusive hardware lock |
| Hardware Acceleration | Browser-controlled | App-specific settings |
| Driver Conflict | Rare (uses generic API) | Common (direct interface) |
Troubleshooting Strategies and Best Practices
If you find that your webcam is still acting up, it is time to look at virtual camera drivers and background processes. Some users have virtual camera software installed for streaming, which can sometimes “hijack” the camera feed before your primary application gets to it.
Check your list of installed programs for anything like OBS, ManyCam, or Snap Camera that might be creating a virtual stream. These programs act as a bridge and can prevent other apps from seeing the physical hardware directly.
Here are a few quick steps to verify your system state:
- Close all browser tabs that might be using the camera.
- Disable any virtual camera software running in the system tray.
- Check the Windows Device Manager to ensure the camera is enabled.
- Restart the specific application that is failing to connect.
- Verify that your camera privacy shutter is physically open.
Frequently Asked Questions
Why does my camera show a black screen in some apps?
A black screen usually indicates that the application has successfully initiated the camera device, but the video stream itself is being blocked. This is almost always caused by a permissions issue or a secondary application holding the camera in a “locked” state. Check your privacy settings to ensure the specific app has permission to use the camera.
Can a firmware update fix my webcam issues?
Yes, manufacturers occasionally release firmware updates to fix compatibility bugs with newer operating systems or specific software. Check the manufacturer’s website for your specific model and see if there are any recommended updates. This is particularly important for high-end webcams that have onboard image processing capabilities.
What is a UVC device and why does it matter?
UVC stands for USB Video Class, which is a standard that allows cameras to work without needing custom proprietary drivers. Most modern webcams are UVC-compliant, meaning they should work on any computer that supports the standard. If your device is not recognized as a UVC device, it might require specific drivers that are currently corrupted or missing.
Do background processes really affect my camera?
Yes, because the operating system limits camera access to one process at a time to ensure your privacy. If a background process, such as a hidden browser window or an antivirus tool, is monitoring your camera, other apps will be blocked. Closing these background tasks is often the fastest way to regain access.
How do I know if my camera hardware is actually broken?
If the camera fails in every application and does not appear in your system’s device list even after a restart, there is a strong chance the hardware is faulty. Try plugging it into a different computer to confirm. If it fails on the second computer as well, the camera itself is likely damaged.
Conclusion
Resolving the issue where a webcam works in one application but fails in another is rarely about replacing hardware. Instead, it is about identifying the software locks, privacy settings, and driver conflicts that prevent your programs from sharing the camera feed. By systematically checking your background processes, updating your drivers, and ensuring that your privacy permissions are correctly configured, you can restore full functionality.
Most users find that once they address these configuration hurdles, their hardware performs reliably across all platforms. If you continue to face trouble, consider checking for specific software updates within the problematic app itself, as developers frequently patch these connection issues in newer releases.